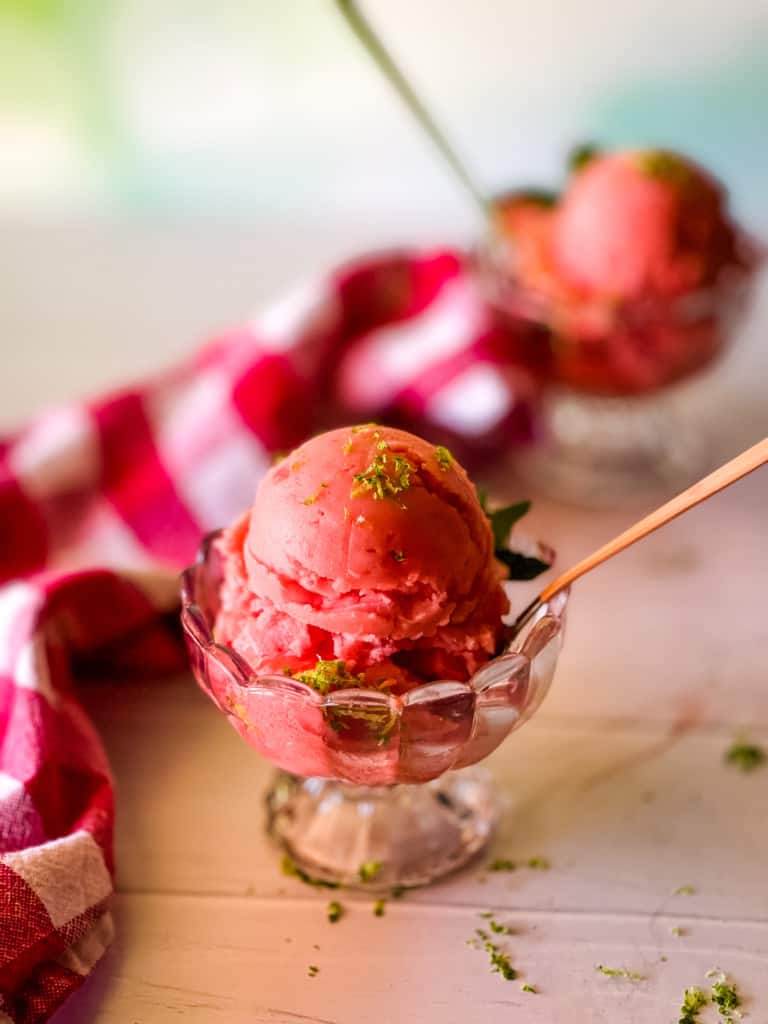
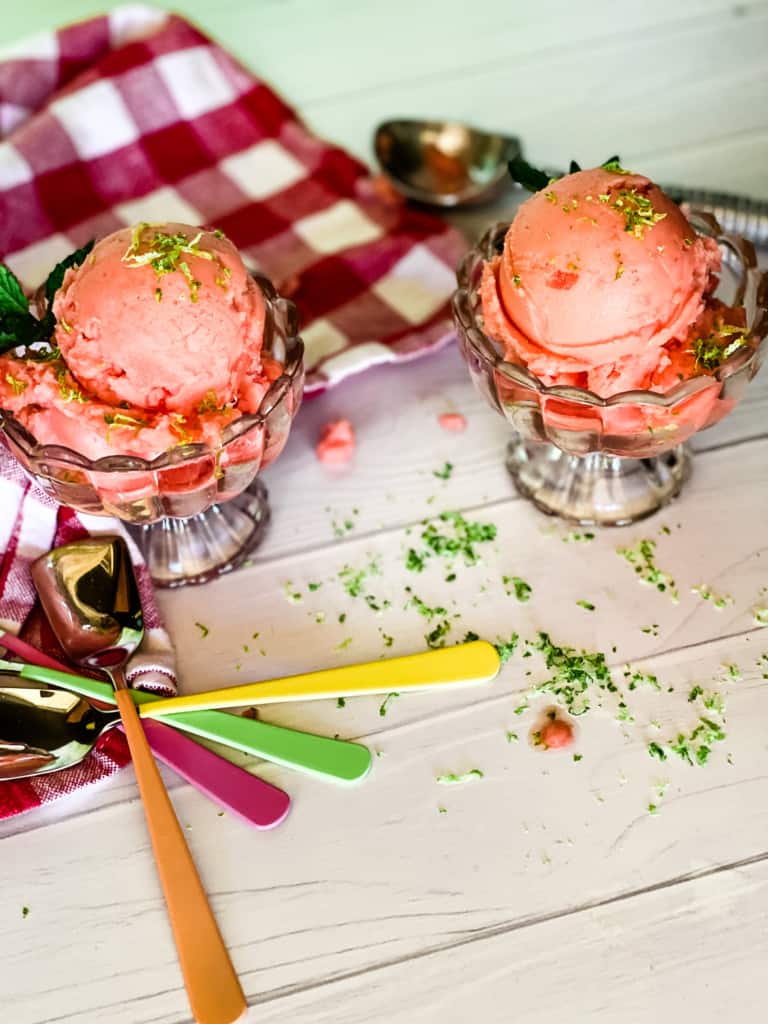
As carefree and sweet as a warm summer day, this vegan watermelon ice cream is creamy, smooth, and flavorful with a hint of lime and sweetness. Made with fresh watermelon and only two other ingredients, this frozen dairy-free treat is unbelievably creamy because it is made in the Ninja Creami Ice Cream Maker.
To say that I’ve been obsessed with my Ninja Creami Ice Cream Maker is an understatement! I’ve been on the quest to find and develop the richest, most creamy, decadent vegan frozen desserts ever. But what if…WHAT IF…I made a dairy-free frozen dessert that was just about the fruit – but as smooth and creamy as ice cream?
I have a Watermelon Sorbet recipe developed for a Cuisinart Ice Cream maker. And the texture is like a sorbet – slightly icy and of course fruity. So I wondered, as creamy and smooth as the Ninja Creami processes EVERYTHING, maybe I could do a vegan watermelon ice cream – except make it dairy-free – only the fruit, without losing the smooth creamy consistency?
Ninja did not disappoint! You are going to love this absolutely delicious, creamy, smooth-textured, watermelon ice cream made only with fresh fruit, a little agave, and lime!
Click here for all of the delicious homemade vegan ice cream recipes, sorbets, and other frozen treats from Veggie Fun Kitchen.
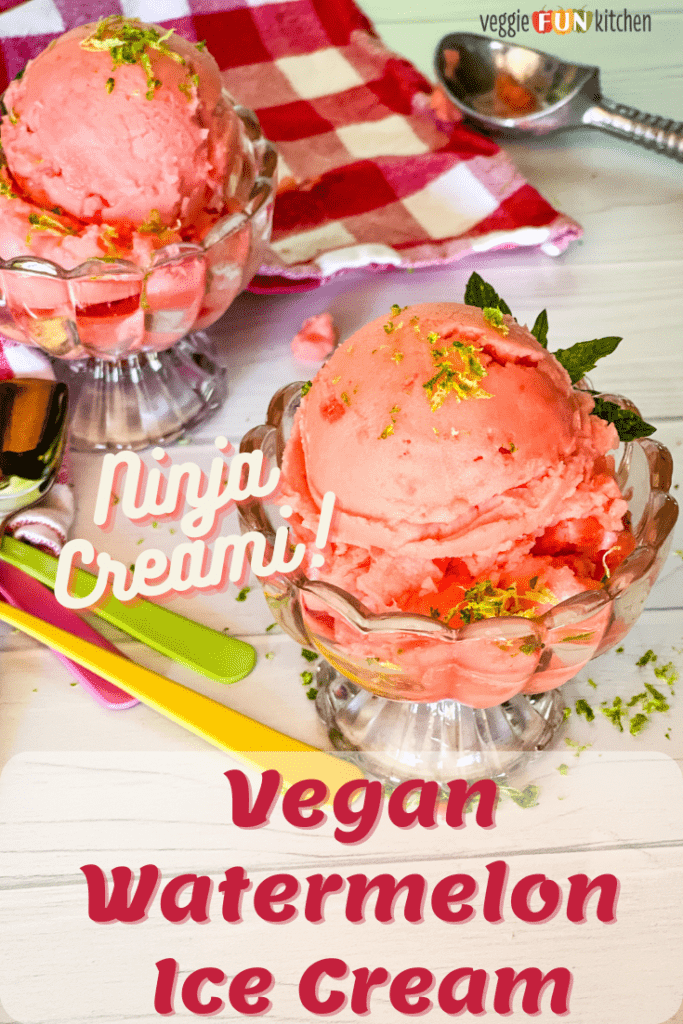
Pin now to save for later:
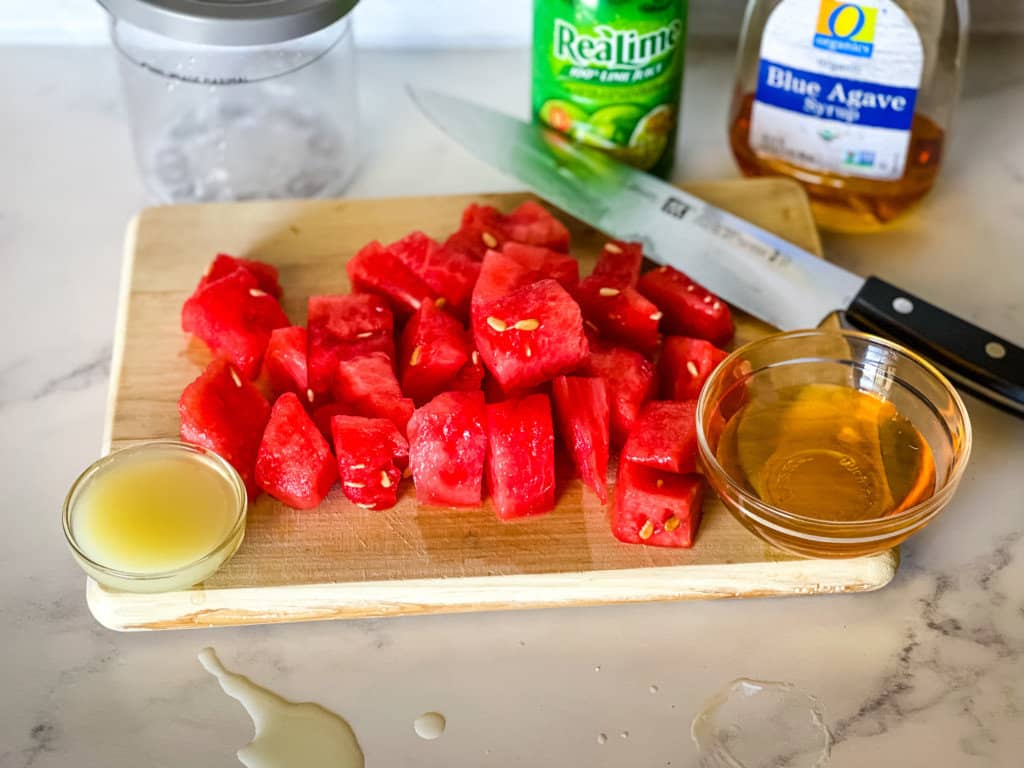
Ingredients to make dairy-free creamy Watermelon Ice Cream recipe
Most of my Ninja Creami recipes include oat or almond milk and coconut milk and cream. Not this one! Really just three simple ingredients for this easy watermelon ice cream. Which then technically doesn’t make it ice cream…but if you decide to make this frozen watermelon dessert, I think you’ll agree – it’s just like ice cream but without the cream!
- fresh watermelon pieces– You will be cutting the watermelon into small pieces. I buy the seedless watermelon cubes already done for you but needed to cut the pieces down a little bit smaller in order for the Ninja Creami to process correctly.
- fresh lime juice – I usually say to go ahead and use bottled lime to save time. But it was so pretty and added just the right amount of flavor zing to sprinkle a little lime zest on top. So go ahead and use real limes. You’ll need two Tablespoons of lime juice so buy three to be safe.
- agave nectar – You can also sub in maple syrup if you are whole food plant-based. It will have a slightly different flavor – but still delicious. Why do we even need sweeteners? Isn’t the fresh watermelon flavor good enough? As it turns out, in the freezing process the fresh fruit does lose a lot of its sweetness. So yes, for the best flavor we do need a little bit of sweetener.
- You will also need a Ninja Creami Ice Cream Maker for this recipe. If you are using a different ice cream machine, then use this recipe for Watermelon Sorbet. It won’t be as creamy as actual ice cream, but more like a sorbet.
How to make creamy smooth vegan watermelon ice cream in the Ninja Creami
The exact ingredients with measurements can be found in the recipe card below along with more concise abbreviated instructions. Read on for more details, tips, and tricks so that you will feel confident making this recipe.
Step 1: cut the watermelon
Remove the seeds if your watermelon isn’t seedless and cut the watermelon into small pieces. For this recipe, I purchased watermelon that was already cubed. I found that I needed to cut the pieces even smaller than those pictured above.
The Ninja Creami is not a high-speed blender nor is it a food processor. Large chunks of fruit will freeze too solid and hard while sitting in your freezer and you might ruin the machine. It is important to follow the owner’s manual that came with your device. Ninja recommends that most fruits be blended before being frozen.
I have found though that if cut the pieces small enough and when frozen in a sugar-containing liquid like agave, the fruit does not freeze super hard enough and the machine will process it.
Step 2: add all of the ingredients
Add the watermelon pieces to the Ninja pint container. Two cups of cut watermelon, loosely packed is exactly enough watermelon for this recipe and will ensure that you don’t go over the max level mark on the Ninja Creami pint container.
Squeeze the lime and add the juice along with the agave nectar. Remember that you will want to top the finished ice cream with a little lime zest. Either zest the limes now and save the zest in an air-tight container in the fridge, or reserve a lime for zesting.
Step 3: Freeze the ingredients
This is honestly the most challenging step because you need to have patience for 24 hours! Freeze the ingredients right in that Ninja Creami pint container. You will also be processing in the same container. (And IF you have any leftovers you will also be storing them in the same container. No need to use a different freezer-safe container!)
I always place a piece of tape on the lid of the container and write the recipe name, date, and time I placed it in the freezer with a sharpie marker. Why, you might ask? Because I usually have many pints freezing at a time and don’t want to get confused.

Final step: Processing!
Are you ready for a refreshing summertime treat? Let’s process that watermelon ice cream!
The first time you process using the Creami, you should watch the video recommended by Ninja. It will get easier the more you do it. Here is a recap:
- Remove the pint container from the freezer and remove the lid.
- Place the frozen pint container into the outer processing container or bowl that came with your device.
- Insert the blade/paddle device into the outer-bowl lid and lock the lid assembly.
- Place the bowl assembly onto the motor base pad. Make sure it is plugged in and twist it up until it locks.
- You will know it is locked because the lights will turn on when you press the on-switch. If you’ve not done it correctly then the “install” light will be flashing.
- Process this recipe using the “Lite Ice Cream” setting. Remove from the device following the directions that came with your machine.

What might go wrong?
After processing, the finished watermelon ice cream might look dry or powdery on top. Sometimes you will see little frozen balls instead of creamy ice cream. This could be because your freezer is too cold.
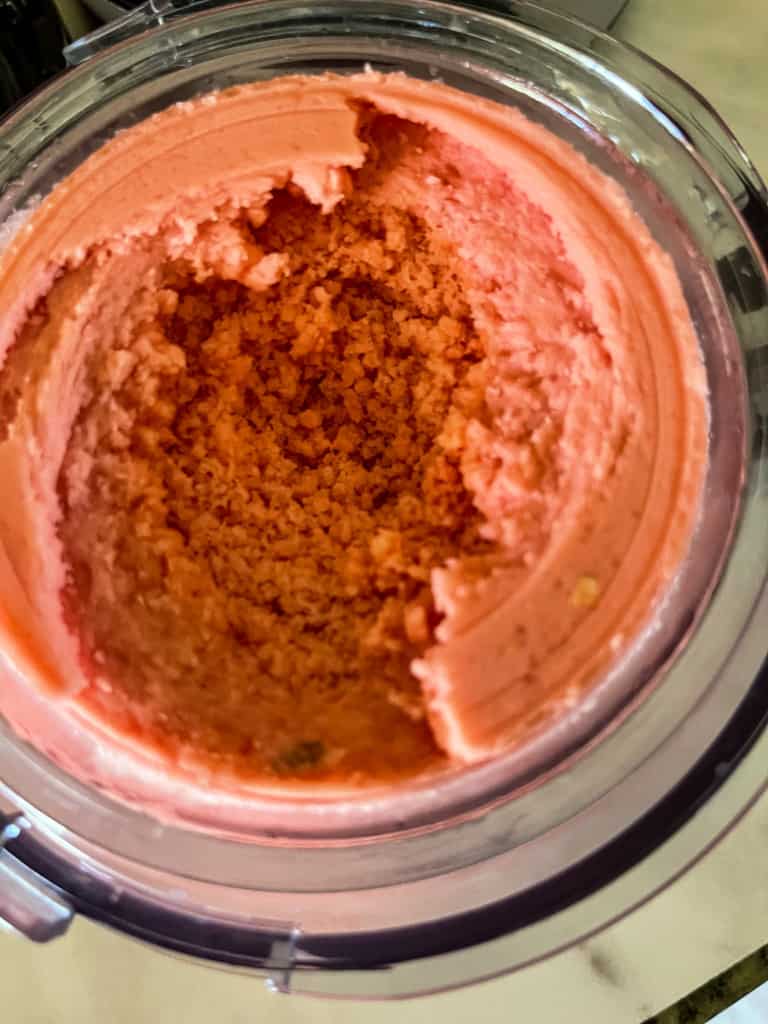
If this happens then put the lid with blade assembly back on. Reinsert and process on “re-spin”. After that, your watermelon ice cream should be nice and creamy – like you’d expect ice cream to be!

What to do with the leftovers
This recipe serves four measly one-half cup servings. That ends up being two servings in my household and we almost never have leftovers.
If you do have leftovers, just keep them in the Ninja pint container. Level the top so that it is even and place it back in the freezer. If it is too hard to scoop when you are ready to finish, simply precess again on lite ice cream. It will be as smooth and creamy as the first time you did it!
For more frozen treats, sorbets, and vegan homemade ice cream recipes, try:
- Vegan Dole Whip – made in the Ninja Creami
- Fresh Orange Sorbet – No Churn
- Strawberry Lemonade Sorbet – made in an ice cream maker
- Watermelon Kiwi Coconut Popsicles
- Lemony Peach Popsicles
- Orange Creamsicle Ice Cream
The printable recipe card for dairy-free watermelon ice cream!
Did you love this recipe?
Want to share the love? It would be great if you could leave five ⭐️ ⭐️ ⭐️ ⭐️ ⭐️ stars and even a comment. Did you know that this will help Google to find this recipe when others are looking for something similar? Thanks, Cindy

Vegan Watermelon Ice Cream in the Ninja Creami
Equipment
- NInja Creami
Ingredients
- 2 cups watermelon cubed
- 2 Tablespoons lime juice
- 3 Tablespoons agave nectar
Instructions
- Cut the watermelon into small pieces. Make sure there are no black seeds.
- Put the cut watermelon into the Ninja Creami pint container. Push it down to make sure it is not above the max line, cutting into smaller pieces if necessary.
- Pour the lime juice and agave nectar over the top. The liquid should run between the cut watermelon and not exceed the max fill line.
- Secure the lid and freeze upright in your freezer for 24 hours.
- After 24 hours you can process. Remove the frozen pint from the freezer and remove the lid. Insert the processing blade into lid of the processing container. Place the frozen pint into the processing container and twist to lock the lid. Place the closed processing container onto the Ninja Creami pad. Make sure it is plugged in. Twist up to secure in place. Turn on the machine.
- If you have done the above steps correctly, you will be ready to process. If you have not then the "install" light will be flashing. Select the "lite ice cream" function and process.
- After if has finished processing, press the button on the base and twist down to remove the processing container. Remove the lid.
- Serve and enjoy!
I thought I’d try a test with my family and make vegan ice cream to see if they could tell the difference – they didn’t guess and I’m not telling them!
The watermelon flavor was delicious and it was so easy to make! Will be making again this summer.
This is great! What a great summer treat for my family! The boys loved it.
It’s the middle of winter here and this still went down a treat! We have a heap of watermelon in the freezer left over from summer that I had to use up and it worked just perfectly.
Best sorbet ever! My daughter now likes to come home after school and make this every day. I need to stock more watermelon !!! Thank you for such a delightful, yet healthy recipe.
Thanks for this easy and delicious watermelon ice cream recipe, so good!
Can this be made without added sweetener?
274 calories for 1/2 c?
Thank you for pointing that out. The nutrition calculator was calculating the entire recipe and I did not catch it earlier. It has now been fixed. I hope you enjoy the watermelon ice cream. I love my Ninja Creami!
I’m about to make this, and I’m wondering if there’s a reason you wouldn’t process this on “Sorbet” instead of Lite IC? There’s no dairy or dairy-like ingredient.
I took an wondering why one would process this on lite ice cream rather than sorbet.
You could try both. Not everyone has all of the settings and this is the one that for sure works for me:)
I received my Creami for Mother’s Day and need a simple vegan recipe fir newbies. THIS WAS IT!
Thanks