Indulge in the rich, velvety texture of our easy to make small batch seedless blackberry jam, a luscious spread that captures the essence of ripe, juicy blackberries in every spoonful. Crafted with meticulous care, this vegan delight is free from any animal products ensuring that the pure, fruit-forward flavor shines through without the use of butter. We’ve harnessed the natural thickness of blackberries to create a perfectly set jam without the need for pectin, offering you a cleaner, more intense berry taste that’s as close to nature’s bounty as it gets. Whether slathered on toast or dolloped on oatmeal, our blackberry jam is a testament to the simple pleasures of small batch artisanal preserves.

Jam-making can seem tricky because you need to measure ingredients just right, balance pectin and acidity, and cook it carefully to get the perfect consistency. Making sure everything is clean and sterilized is important – and more complicated too. The good news is that If you make your jam small batches, it can be easier to manage and perfect the process. With practice, making tasty homemade jam becomes a breeze…and is fun too!
I've been having an absolute blast experimenting with small batch jam, fruit sauce and and fruit butter recipes! Pumpkin butter, peach butter, and pear butter are an absolute breeze when you only have to worry about preparing a small amount! And strawberry jam and blueberry jam chia seed jam are totally manageable when you are making only a few jars and don't need to fuss with the whole canning process.
I seriously have traumatic emotional echos from my first attempt at canning a large batch of jam on my own as a young adult. When I was growing up I had helped my own mother and grandmother for years with their annual canning adventures (which you can read about in my strawberry jam post) and was excited to attempt it on my own thinking, what can be so hard about making jam…
Have you every failed at making large batch jam?
My first attempt at making large batch jam was more than a headache. Figuring out the right amounts of ingredients felt like solving a puzzle, and getting the perfect mix of pectin and acidity was a real challenge. The clock ticking while the jam cooked made me nervous, and trying to sterilize the jars felt like a clumsy circus act. And then the whole water bath process to ensure the jam was safely sealed in the many many small glass jars sitting on the counter, filled with the sticky sweet goo. In the end, my kitchen adventure felt more like a mess than a success.
Remember that you can do the hard things! Sometimes you just need to figure out an easier method - like making small batch jam rather than worrying about the hassles of traditional large batch canning.
And then I discovered the absolute ease and joy of making small batch jam! Making small batch jam is a breeze because it simplifies the complex measurements and balances needed in larger batches. With fewer jars to manage, the process becomes more approachable, allowing for better control over cooking times and consistency. Plus, it’s a great way to experiment without feeling overwhelmed, turning jam-making into a manageable and enjoyable kitchen project.
You’ll be spreading this juicy jammy spread on your warm comforting homemade bread in no time at all! And then you’ll be ready to try jam making process again with different fruits and combinations.
Ingredients needed to make your own seedless blackberry jam
- fresh (or frozen) blackberries – You will need 12 ounces of blackberries for this recipe which is perfect because most fresh blackberries at the supermarket come in six or 12 ounce containers. You can also use frozen blackberries but may need to adjust the cooking time.
- granulated sugar – If you are a sugar vegan then I suggest using organic sugar.
- lemon juice – Use fresh or bottled
- salt – Just a little bit to balance out the sweet
- A candy thermometer (affiliate link) is extremely helpful – especially if you are new to small batch jam making.
- a fine mesh strainer for separating the fruit from the seeds.
- You might notice no pectin and no butter. We don’t need them for this recipe:)

How to make small batch seedless blackberry jam without butter and without pectin
The exact ingredients with measurements can be found in the recipe card below along with more concise abbreviated instructions. Read on for more details, tips, and tricks so that you will feel confident making this recipe.
Step 1: Freeze the plates
This might sound weird – but put several small plates in the freezer before you begin. These plates can be smaller that a salad plate – very small. We are going to the be doing the freezer method to see if our blackberry jam has cooked enough and is as thick as we’d like it to be. See more below in step seven.
Step 2: Prepare the blackberries
Prepare the blackberries by cutting off any tops or leaves. If you buy your blackberries in a clamshell at the grocery store, they will probably already have the tops removed. If you are lucky enough to source freshly picked blackberries then you will need to remove the tops with leaves and stem yourself.
Steps 3 and 4: Cook the blackberries and other ingredients
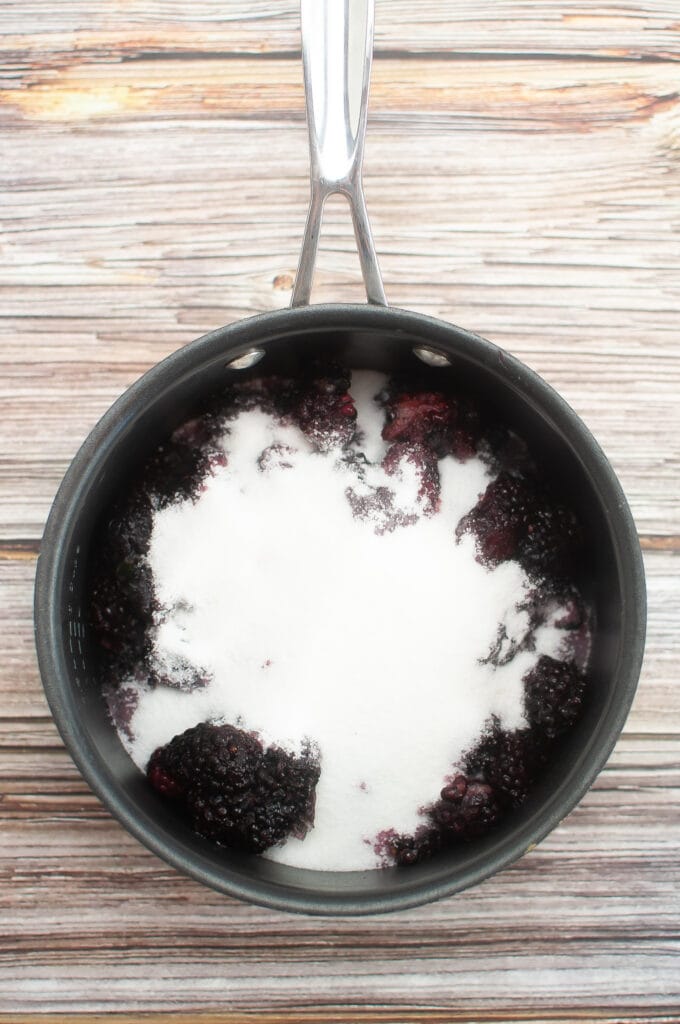
Place the blackberries, sugar, lemon juice, and salt in a medium saucepan and cook over medium heat. Stir it regularly until the sugar has dissolved. This will take about six minutes. Don’t allow for a hard boil during this step. A gentle boil is fine.

Durning the last two minutes, mash the blackberries into small bits. The better you can mash the berries now, the easier it will be to run the mixture through the mesh. Turn off the stove.
Step 5: Run the mixture through the mesh strainer/sieve
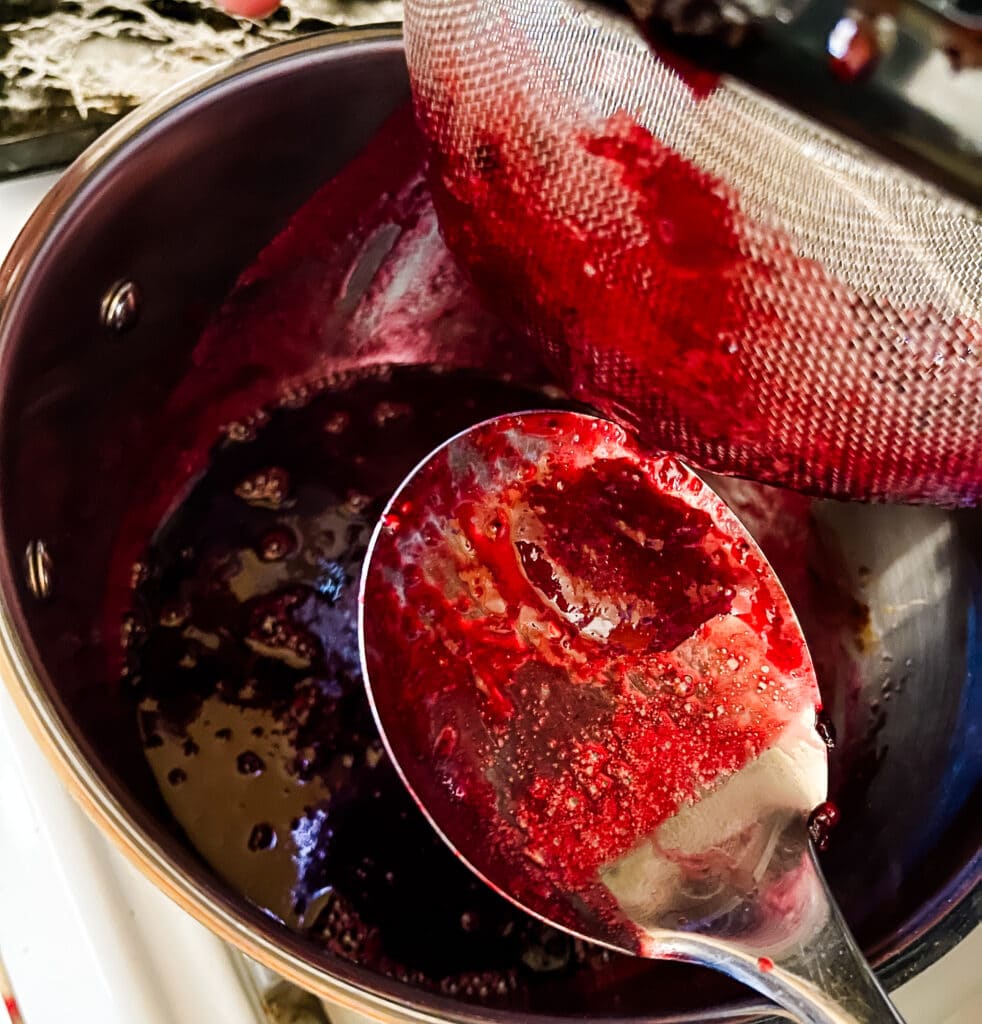
Just like with the raspberries in triple berry jam, we are mashing the fruit and getting rid of the seeds in this seedless blackberry jam. Pour the cooked mashed berries into a strainer and place it over a container. Mash the juice and the pulp through the strainer with the goal of leaving only (mostly) the seeds behind. This might take a few minutes of straining and mashing.
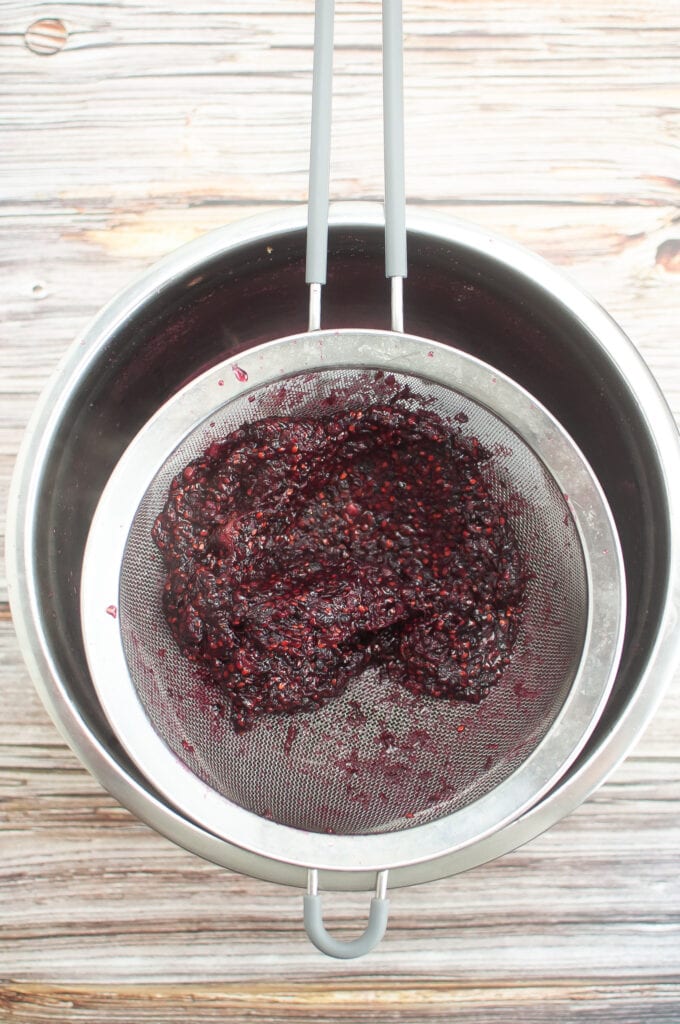
Try to get as much of the pulp as possible to push through – otherwise, you will just be getting the juice and making thin jelly. I even mash and then scrape the bottom of the strainer several times.
Step 6: Return to cooking
Return the now seedless blackberry jam mixture to the pan and once again bring to a low boil and let simmer/low boil without stirring for eight minutes before doing the first gel test.
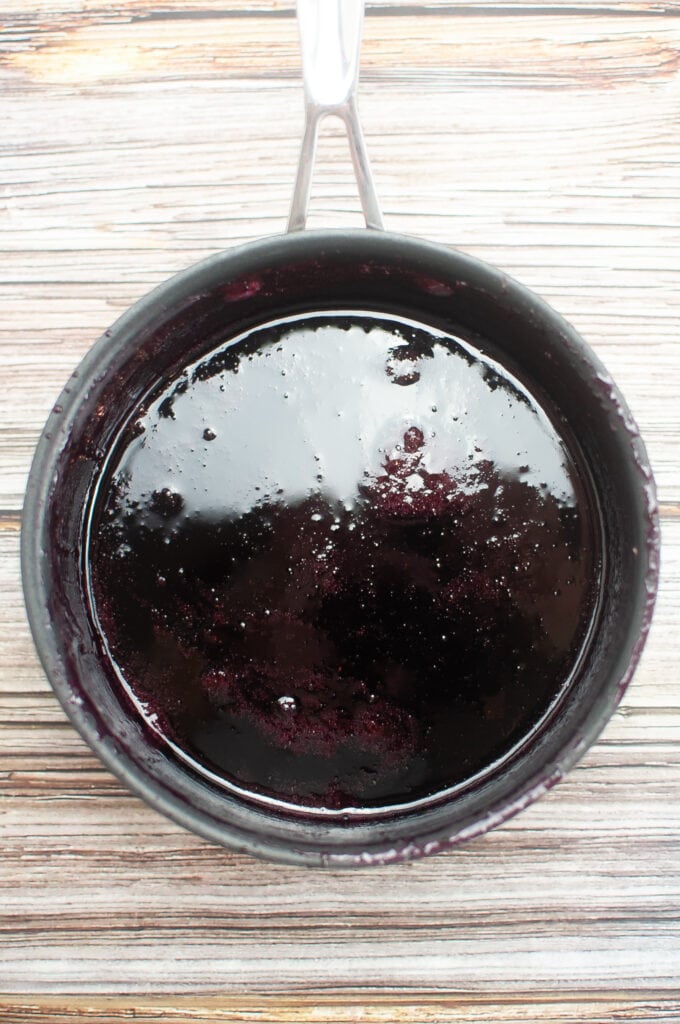
If you are using a candy thermometer then cook to 210℉. (Depending on how thick you’d like your jam to be.) Even if you are using a candy thermometer, do the freezer gel test to make sure the jam is as thick as you’d like.
Step 7: The freezer gel test
Remember those small plates we put in the freezer? Time to take them out to do the freezer gel test. Turn off the stove while you complete the gel test.
Spoon a small amount (one-half teaspoon) onto the cold plate. Return to the freezer for two minutes. Tilt the plate to see if the mixture runs down the plate quickly or if it very slowly creeps.
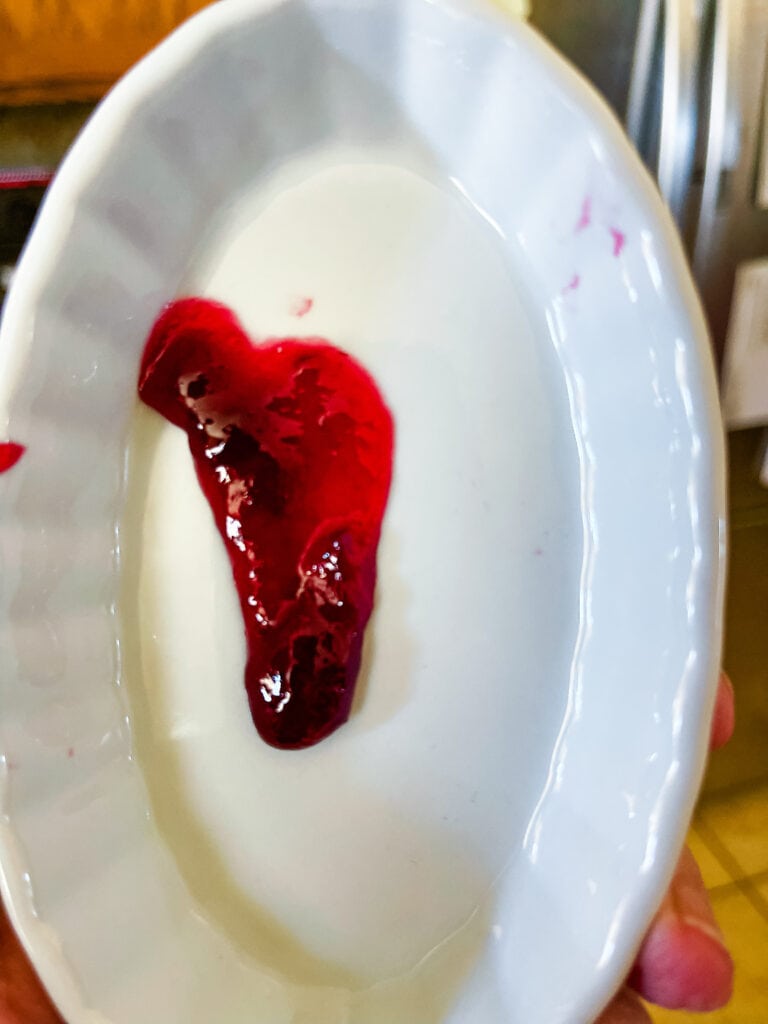
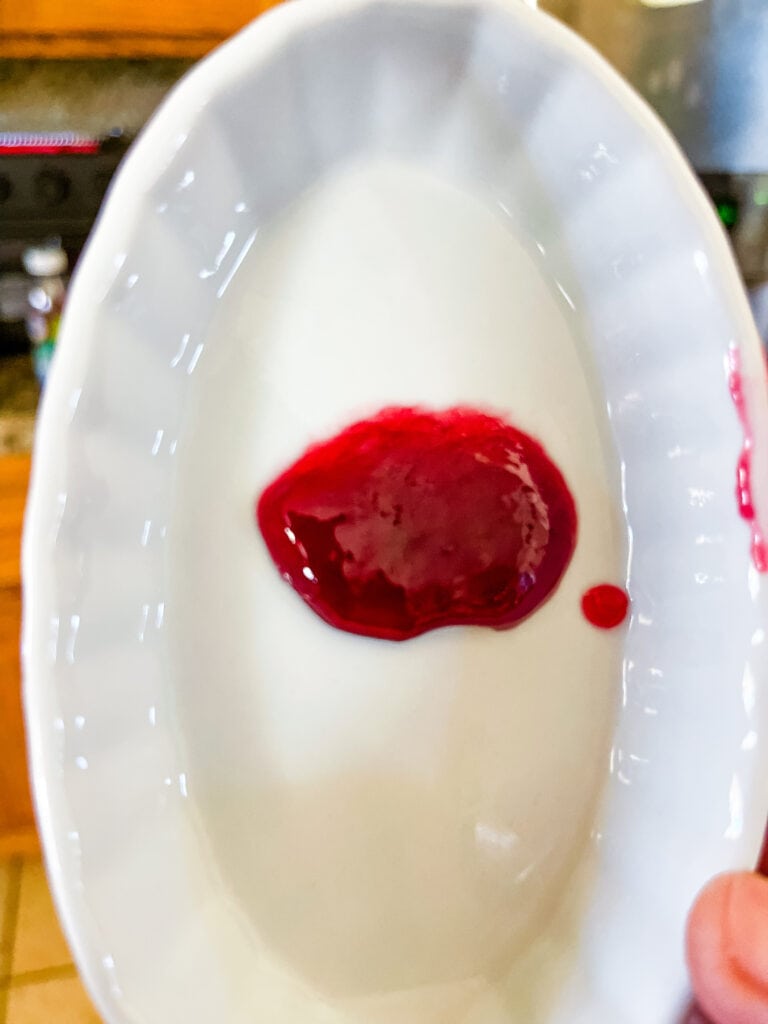
If the jam mixture runs quickly, return it to a quick boil and then immediately turn it down to a simmer for another minute or two. Try the test again. I’d be surprised but you might need to do this process a third time. You should not need to try a fourth time.
Final step: Cool and jar
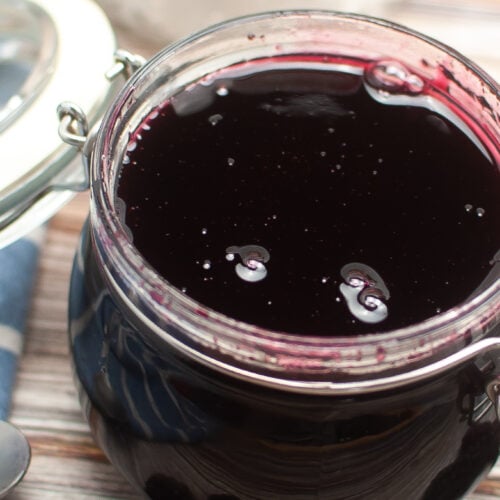
Remove the jam mixture from the heat and let cool until you can pour it without burning yourself if some of the hot jam splatters. Give it a stir before pouring the mixture into a small clean jar. Put a lid on it and let it finish cooling and setting in the fridge for several hours. It won’t fully thicken until it has fully cooled and set.

This makes one or two jars of jam – depending on the size of your jars. I like to make two small jars, one for enjoying and one for sharing. Store the jam in the fridge for up to one month unopened. Consume the within a week once opened.
What if your jam has not thickened enough?
Sometimes, despite my best efforts, after completely cooling, I find that my jam is still not quick as thick as I’d like. You can either be happy with it and use it as a yummy pancake syrup, or return it to the stove, bring to a boil, cook for a couple of more minutes and honestly, that usually does the trick!
The printable recipe card
Did you love this recipe?
Want to share the love? It would be great if you could leave five ⭐️ ⭐️ ⭐️ ⭐️ ⭐️ stars and even a comment. Did you know that this will help Google to find this recipe when others are looking for something similar? Thanks, Cindy
Small Batch Seedless Blackberry Jam, No Pectin and No Butter
Equipment
- candy thermometer
Ingredients
- 12 ounces blackberries
- 18 Tablespoons granulated sugar see notes
- 1 Tablespoon lemon juice use fresh or bottled
- ¼ teaspoon salt scant – see notes
Instructions
- Put several small plates or flat bowls in the freezer for the gel test you'll do after the mixture cooks.
- Prepare the blackberries by cutting off any tops or leaves. If you buy your blackberries in a clamshell at the grocery store, they will probably already have the tops removed.
- Place the blackberries, sugar, lemon juice, and salt in a medium saucepan and cook over medium heat. Stir it regularly until the sugar has dissolved. This will take about six minutes. Don't allow for a hard boil during this step. A gentle boil is fine.
- Durning the last two minutes, mash the blackberries into small bits. Turn off the stove.
- Pour the cooked mashed berries into a strainer and place it over a container. Mash the juice and the pulp through the strainer with the goal of leaving only (mostly) the seeds behind. This might take a few minutes of straining and mashing (calculated in the prep time). Try to get as much of the pulp as possible to push through – otherwise, you will just be getting the juice and making thin jelly. I even mash and then scrape the bottom of the strainer several times.
- Return the now seedless jam mixture to the pan and once again bring to a low boil and let simmer/low boil without stirring for 8 minutes before doing the first gel test. If you are using a candy thermometer then cook to 210℉. (Depending on how thick you'd like your jam to be.).Even if you are using a candy thermometer, do the gel test to make sure the jam is as thick as you'd like.
- Turn off the stove while you complete the gel test. Spoon a small amount (one-half teaspoon) onto the cold plate. Return to the freezer for two minutes. Tilt the plate to see if the mixture runs down the plate quickly or if it very slowly creeps. If it runs quickly, return the mixture to a quick boil and then immediately turn it down to a simmer for another minute or two. Try the test again. I'd be surprised but you might need to do this process a third time. You should not need to try a fourth time. See notes for another freezer test.
- Remove and let cool. Give it a stir before pouring the mixture into a clean jar with a lid. Store the jam in the fridge for up to 1 month unopened. Consume within a week once opened.

My family loved the jam (sauce). I’m leaving it slightly runny so I can use it on several items. I’ll be layering it in homemade ice cream, using it for making popsicles, as a layer for cake, or a topping for cheesecake.
Thanks for the recipe!
Hi, can you can this recipee?
If you now how to can, I don’t see why not. It’s small batch though.
Thank you for the clear explanations of the steps in this recipe. You have made it easy and rewarding to make jam again!
Yum!