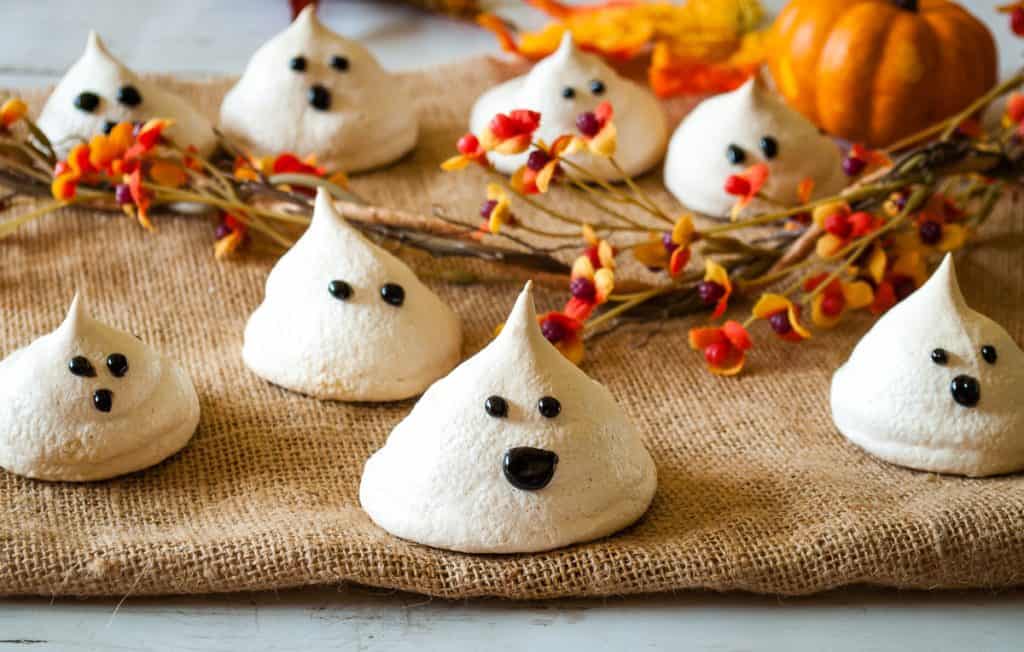
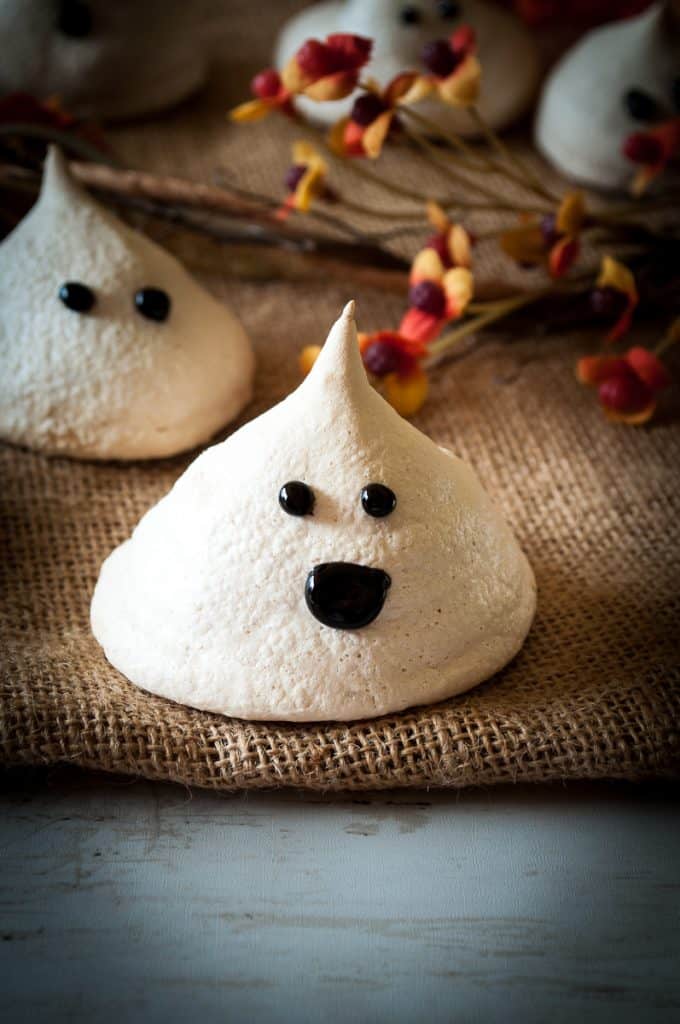
Made with aquafaba (the liquid from a can of beans) whipped light and fluffy with a stand mixer, and baked in a low, slow oven, these cute ghost meringue cookies are a tasty fun vegan Halloween treat.
Who says vegans can’t have halloween fun? Just switch around some ingredients to make your treat vegan friendly and you’re ready for a party!
Try my:
- Vegan Pumpkin Cake With Cream Cheese Filling
- Harry Potter Pumpkin Juice
- The best ever Game Day Chili with Walnuts
- Chili Cheese Sauce
And you are ready for a party!
Jump to RecipePin now to save for later:

To make these ghostly vegan meringue cookies you will need:
- Cream of Tartar
- aquafaba – or bean juice!
- For this recipe, you’ll need a cup of aquafaba less one Tablespoon. This will get the best results for your aquafaba meringues.
- sugar (use organic for vegan)
- vanilla extract
- cornstarch

You are also going to need:
- black gel for the faces – I used Wilton Black Gel Icing
- Wilton also makes a cute sparkle gel. I don’t know for certain that it’s vegan though.
- Both gels won’t fully dry before you are ready to eat your meringue cookies. That’s okay, they are cute and meant to be eaten fast.
- piping bag for the meringues
- stand mixer
- parchment paper
- large round decorating tip (useful but not necessary)
- large cookie sheets or jelly roll pans
- oven
How to make the vegan meringue ghost cookies:
Jump to RecipeI’ve always been fascinated yet intimidated by aquafaba meringue. I have a vegan friend in blogging, Meggan at Cooking On Caffeine, who makes the most amazing vegan macarons using aquafaba of course! It’s on my list of things to figure out in the very distant future! They look a little…complicated to me. For now, I’ll make myself happy with these cute ghost vegan meringue cookies!
What is aquafaba?
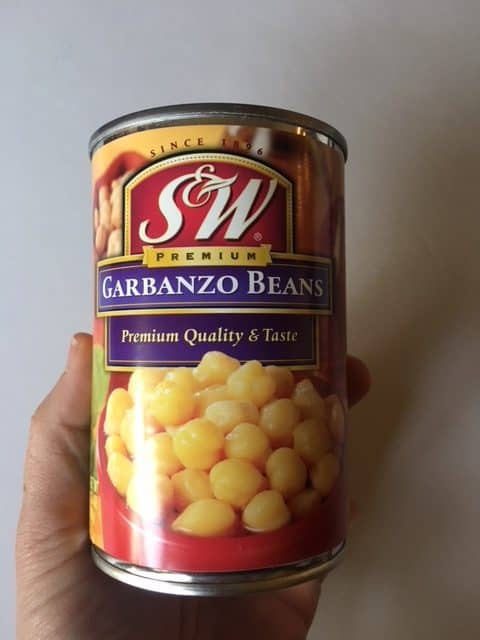
Great question! Up until a year or so ago, I had no idea either. Aquafaba literally means “bean water” and is the liquid from a can of beans. You can technically use any can of beans (legumes – not green beans). I go through massive quantities chickpeas (otherwise know as garbanzos), so that’s what I’m using for this first try.
What to do with the leftover chickpeas?
You will start by draining and saving the liquid from your can of beans. This will only last for a few days in your fridge, so it’s best to time making your vegan meringue cookies quickly after opening your chickpeas.
But don’t throw those beautiful chickpeas out! Here are some of my best recipes using drained canned chickpeas:
- Crunch BBQ chickpea salad sandwich
- The Best “Egg Salad” with Chickpeas
- Curried Butternut Squash with Chickpeas
- Veggie Salad with Smooth Tahini Dressing
Using the stand mixer to whip the aquafaba:
After preheating the oven and preparing your baking sheets, start by draining the chickpeas and reserving one cup LESS one Tablespoon of the liquid. That measurement might sound random, but I assure you it’s not. This is the correct about of aquafaba needed for success!
Put the cream of tartar in the bowl you will use with your stand mixer.
Get the whisk attachment all ready and fitted. Pour the properly measured aquafaba into the bowl and mix on low until the cream of tartar is all mixed in.
You can turn it to medium now and mix till it’s a little foamy.
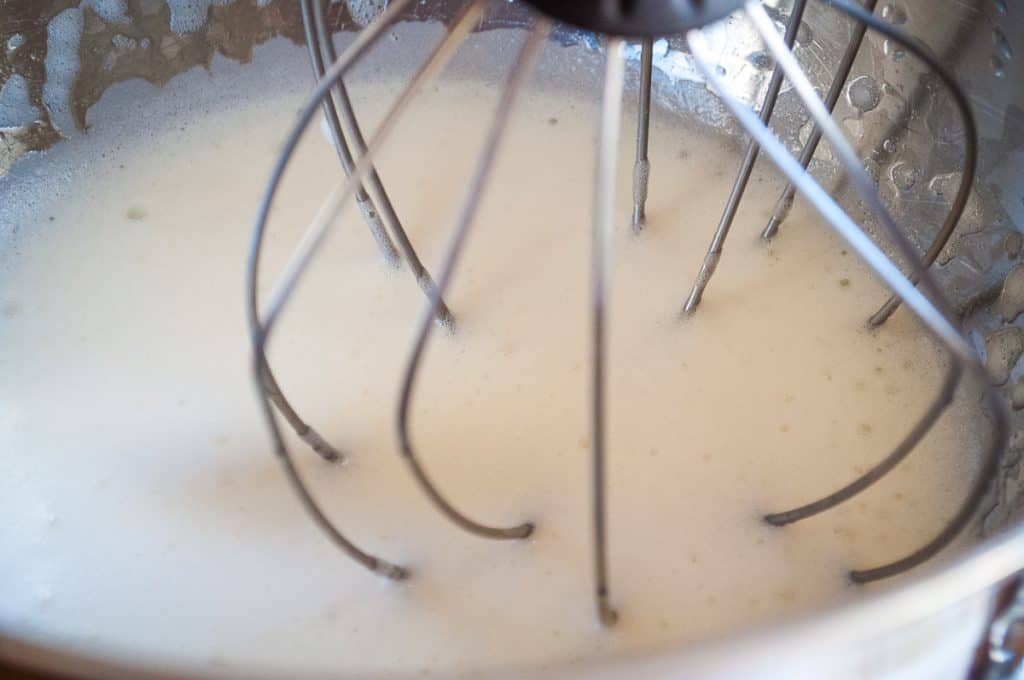
Gradually increase the speed to high and beat till you’ve got soft peaks.
Soft peaks will mostly hold their rounded shape but might begin to start drooping.

Adding the sugar, vanilla, and cornstarch:
Now you can start adding the sugar, one Tablespoon at a time, beating well after each addition. Beat until stiff glossy peaks can hold their shape without falling.
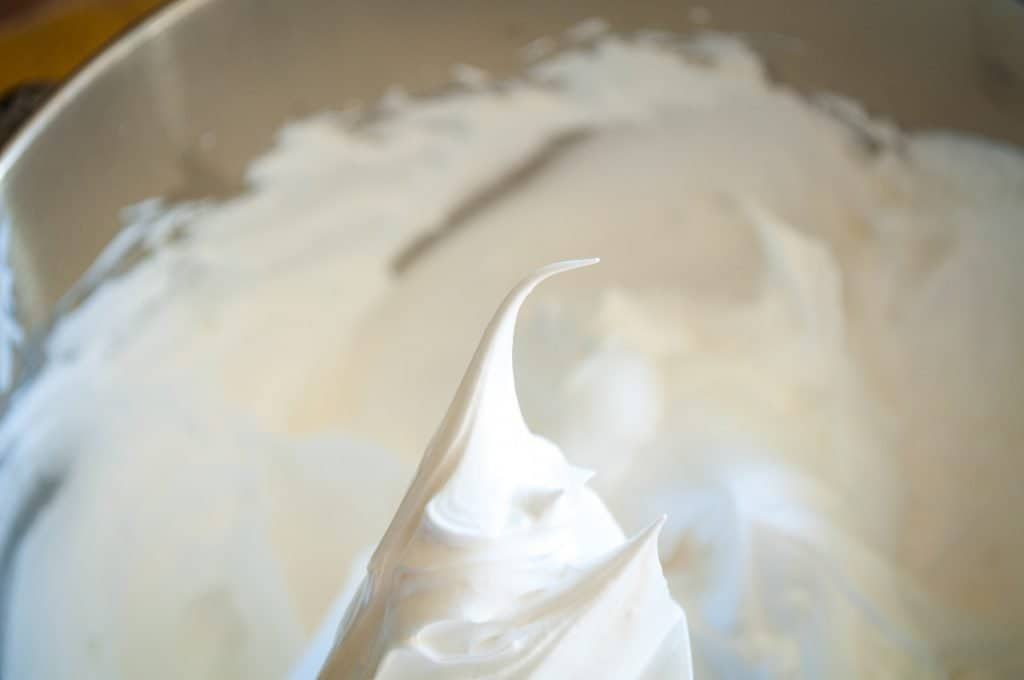
Next, you add in the vanilla and beat for another 30 seconds.
Finally, sprinkle the cornstarch on top of the stiff meringue and beat one more time for another 30 seconds.
Preparing the pasty bags:
Cut the tip from your pastry bag (if disposable) and insert a large (one-inch) round tip. If you don’t have a large round decorating tip, just use the tip of your decorating bag. It won’t be as stable nor as easy to pipe from, but it will work.
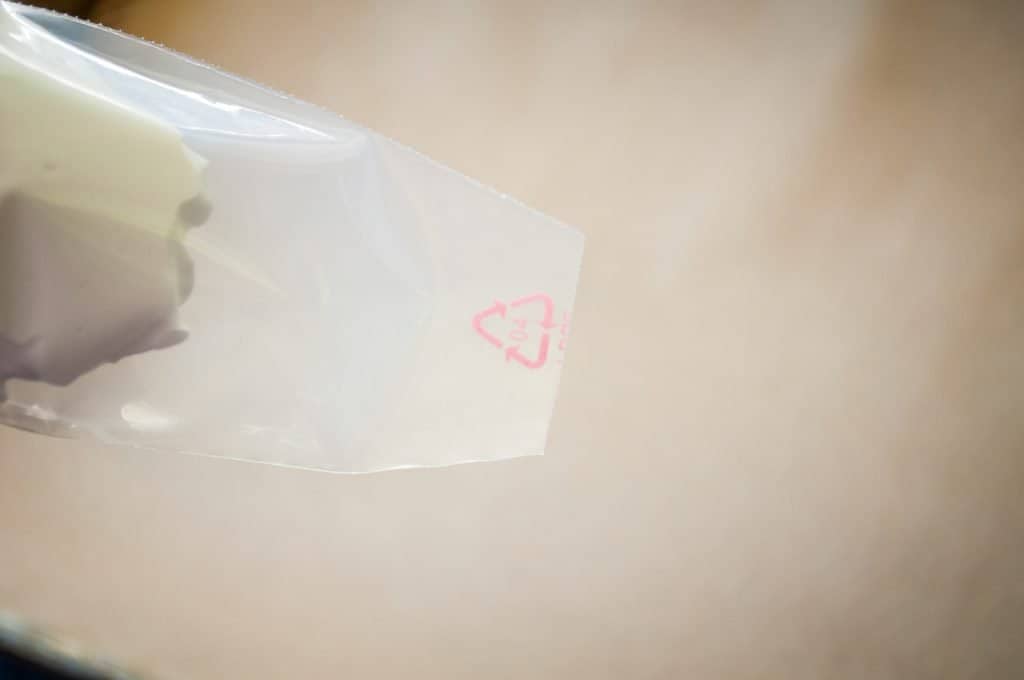
Open the top of your pastry bag and carefully spoon in the meringue.
Pro tip: If you can fold the top over the rim of a tall glass or jar, it makes it quite easy to fill the bag. Fill no more than about 2/3 of the way full. Add more when you need to.

Piping the ghostly vegan meringues:
To pipe a ghostly shape you will need to pipe a cone. Start by squeezing gently directly onto the prepared baking sheet. Make a round base and then slowly lift as you continue squeezing – but with less pressure. Stop squeezing to make a tip.
They don’t all have to be the same or be perfect, that’s what gives each one a unique character!
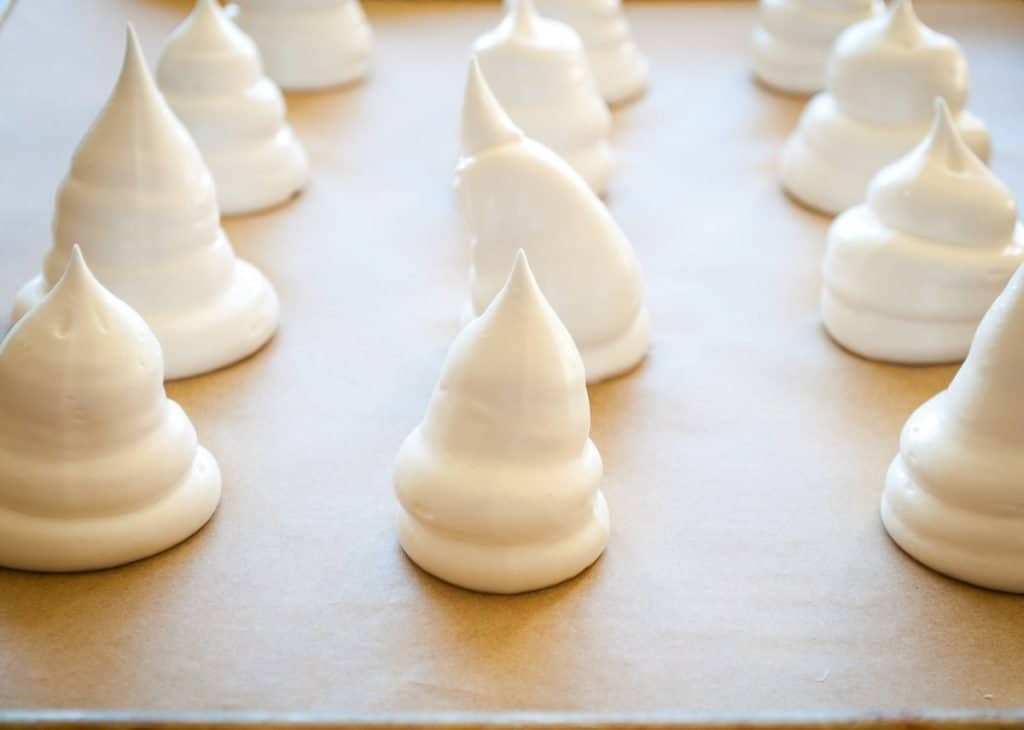
You don’t have to worry about the ghost shapes spreading or losing their shape too much in the oven. Mine ended up looking like big white “kisses”. They were cute still. And tasty!
Bake on the lower racks at 275° for 75 minutes, rotating the trays after about 30 minutes for more even cooking.
Once they have baked for 75 minutes, turn off the oven and prop open the door a few inches and allow full cooling, this could take up to an hour or more.
Once the oven has cooled, set the ghost meringues on cooling racks to allow the bottoms to dry out.
NOTE: Just like egg meringues, they’ll dry the best without getting sticky if your house is warm and dry. If you live in a wet climate, try to run the dehumidifier if you have one.
Once the meringues have fully cooled, add the eyes and mouth. The gel will be wet. That’s okay, you’ll want to eat your meringues right away anyway!
Happy haunting!
And now for the recipe!
Did you love this recipe?
Want to share the love? It would be great if you could leave five ⭐️ ⭐️ ⭐️ ⭐️ ⭐️ stars and even a comment. Did you know that this will help Google to find this recipe when others are looking for something similar? Thanks, Cindy

Aquafaba Meringues, a Vegan Halloween Treat
Equipment
- stand mixer
- 2 large baking/cookie sheets
- cooing rack
- oven
Ingredients
- 1 teaspoon cream of tartar
- 1 cup aquafaba less one Tablespoon
- 1½ cups granulated sugar
- 1 teaspoon vanilla
- 1 teaspoon cornstarch
Instructions
- Preheat oven to 275° and place oven racks in the two lowest positions.
- Prepare two large baking (cookie sheets) sheets with parchment paper.
- Drain and reserve the liquid from a can of chickpeas. Measure out one cup LESS one tablespoon.
- Put the cream of tartar in the bowl of your stand mixer.Pour the strained aquafaba on top of the cream of tartar.
- Using the whisk attachment, turn the mixer on low and mix the cream of tartar with the aquafaba.
- Slowly increase the speed to medium. Beat until the mixture is foamy.
- Gradually increase the speed to high and beat for a few minutes or until soft peaks form.
- Continue whisking on high while adding in the sugar, Tablespoon by Tablespoon, beating well between each addition of sugar until stiff glossy peaks form.
- Add the vanilla and beat for one minute.
- Sprinkle the cornstarch on top and continue beating for one more minute.
- Cut the tip from a (disposable) pastry bag and insert a large (1 inch) round tip. If you don't have a large tip, just use your pastry bag.
- Carefully spoon in whipped meringue, filling the bag no more than 2/3 full. You will refill as necessary.
- Pipe out the ghost/cone shapes directly onto your prepared baking sheets. Start with a larger round base. Pull up while decreasing the pressure until you have a cone.
- Bake on the lower oven racks for 75 minutes, rotating half-way through.
- Once the baking time is up, turn off the oven and prop the door open a couple of inches until the oven is cooled. This might take up to an hour or more.
- Remove the meringues to a wire rack so the bottoms can dry. Continue cooling till completly cool and dry.
- Decorate the ghostly faces with black frosting gel.
Notes
- These aquafaba meringues are best consumed the same day they are made.
- Cooking on the lower racks will keep the meringues from turning brown in the oven.
- The ghost meringues won’t spread much in the oven, so you don’t need to space them as far apart as you would regular cookies.
- They will lose their shape somewhat when baking. That is to be expected.
- These will dry as sticky if your house is dry and warm.
- Fun serving suggestion: You can brush the bottoms of your ghostly meringues with melted white chocolate and put them on top of cupcakes or cakes to decorate!
