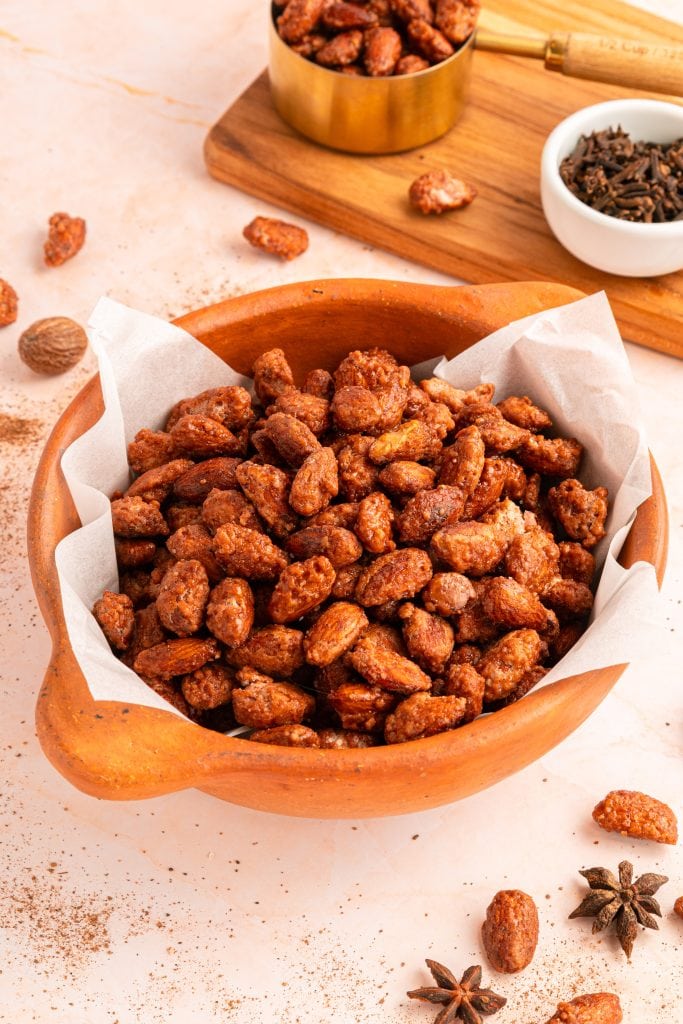
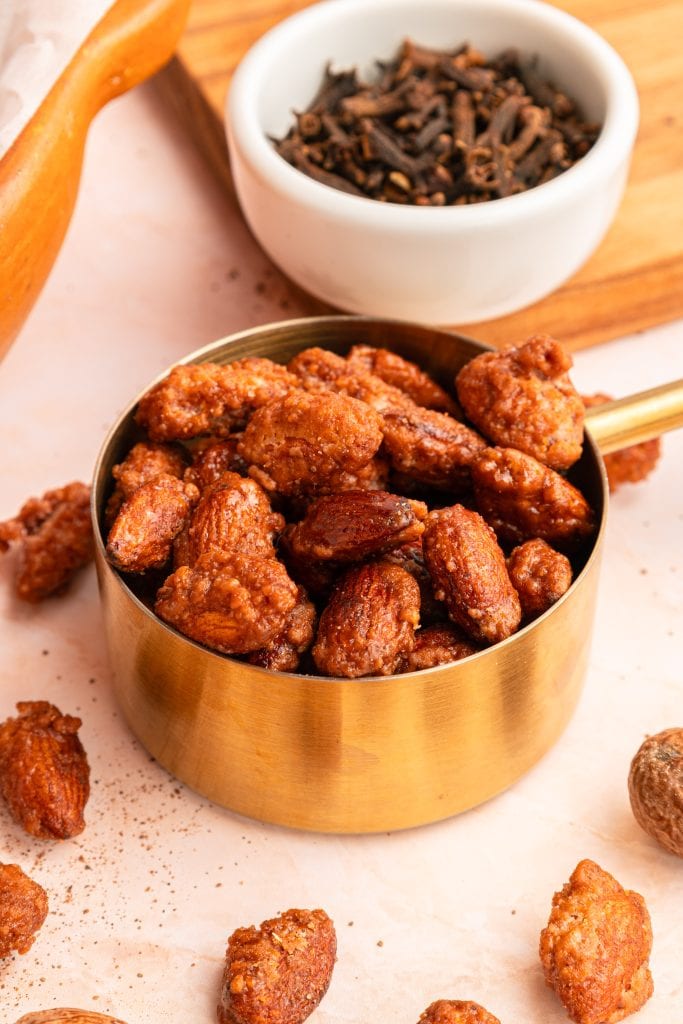
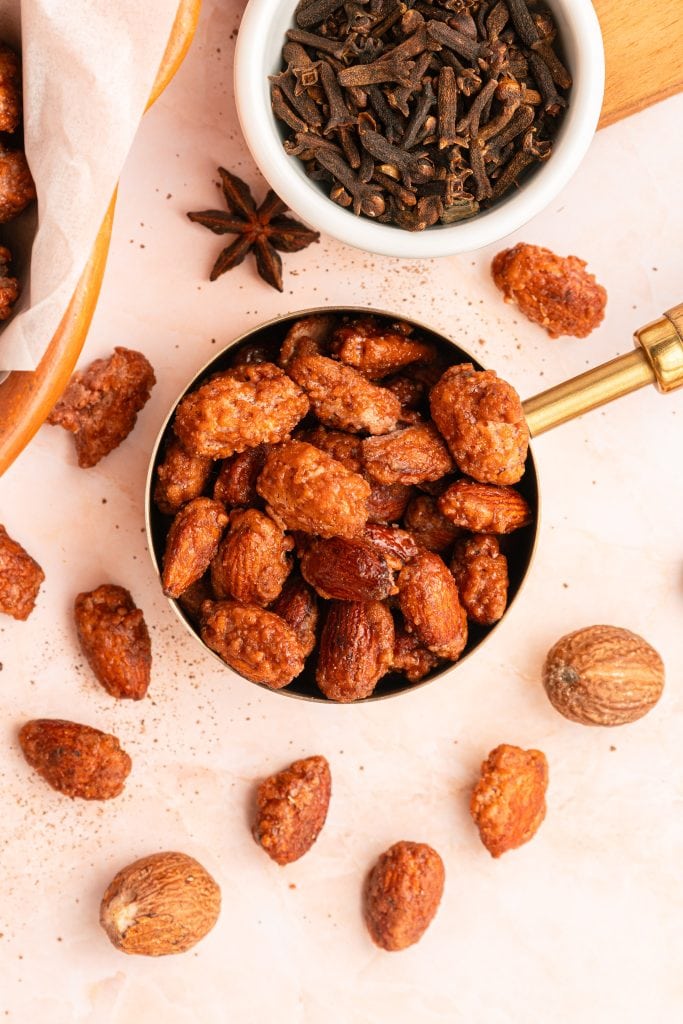
Warm, sweet, a little crackly. Sugar coated almonds are the kind of snack you grab without thinking and then suddenly half the bowl is gone.
I love easy recipes like creamy spicy peanut sauce, and cinnamony air fryer apple slices that feel fancy even though they’re simple. This candied almonds recipe is basically almonds, sugar and a little patience. You stir, wait, stir again, and soon the kitchen smells like candied nuts from a winter craft fair.
No candy thermometer, no big equipment, just a skillet and a spoon. They cool into crisp little jewels, and if you walk past too many times, don’t be surprised if you end up eating them all.
If sugar-glazed  almonds are your thing, you’ll probably love my oven toasted candied pecans too, along with the savory-spicy buttery pecans I make when I want a snack that isn’t sweet- both vegan friendly of course!

Both are great for gifting, charcuterie boards, and those endless cozy-holiday grazing sessions when people wander through the kitchen and help themselves.
Holiday treat or everyday snack — these really don’t need a season. Serve sugar-coated almonds with fruit, sprinkle them over salads, pile them into jars for gifts, or just stand by the tray eating them warm while you talk to someone in the kitchen.

Why You’ll Love This Candied Almonds Recipe
This is one of those recipes that looks impressive but is secretly low-effort. A handful of ingredients, one pan, and you end up with a glossy, snack-worthy treat that feels holiday-special any time of year.
- No candy thermometer or fancy steps
- Vegan friendly – no butter and not egg whites
- Crispy, shiny coating that tastes like festival-stand almonds
- Small batch friendly — perfect for gifting or snacking
- Switch easily from sweet to spicy or savory variations
- Great on salads, vegan charcuterie boards, or straight off the tray
- Easy to make ahead and keeps well in a jar
It’s fast, festive, and dangerously snackable: all the best things at once!
Ingredients needed for sugared glazed almonds
The detailed recipe card is below, but this section walks you through the key ingredients, why they matter, and how to make swaps if needed.
- Raw whole almonds – Best for this recipe (see below). They toast slowly as the sugar melts which keeps the inside crisp without burning.
- Granulated sugar– Melts, coats and caramelizes into the crunchy shell.
- Water -Helps dissolve and distribute the sugar and cinnamon.
- Cinnamon -Warm, cozy, and holiday-market scented.
- Vanilla extract– Softens the sweetness and rounds the flavor.
- Salt – Just enough to brighten everything.

Why raw almonds?
Raw almonds are best here because they haven’t been roasted yet. They’re just dried nuts — mild, firm, clean in flavor — and they toast perfectly as the sugar cooks. Roasted almonds can work, but they brown fast and sometimes turn bitter by the time the coating caramelizes.
And according to Fastachi, raw nuts just taste better in baking! Using raw gives you more control over color and texture, which is why most candied nut recipes start there.
BUT…if you must use roasted almonds then please please not NOT use salted almonds. Unsalted only!
How to Make Sugar Coated Almonds
The exact ingredients with measurements can be found in the recipe card below along with more concise abbreviated instructions. Read on for more details, tips, and tricks so that you will feel confident making this recipe.
Step One – the prep
Line a baking sheet with parchment or a silicone mat. Keep a wooden spoon nearby so you’re ready once things thicken because things can move fast when you are working with cooked sugar!
Step Two – Melting the sugar
Add sugar, water, and cinnamon to a heavy skillet and warm over medium heat. Stir now and then until the sugar dissolves. You’ll want to attend this part so that there is no scorching, but you don’t need to hover and stir the entire time. This should take only just a few minutes.

Step Three and four – add the almonds
Pour in the almonds. At first they look glossy and loose in the syrup. Stir occasionally so everything cooks evenly. The syrup will coat the almonds and begins to thicken.
After several minutes, the mixture becomes sandy and grainy, like something went wrong. Don’t worry! You’re on track. Keep stirring through it and the sugar should start to melt.


Step Five– the sugar melts and dissolves
A few more minutes and the sugar melts again into caramel. Continue stirring until every almond is shiny and coated. Yay you did it! (See, no need to panic!)

Step Six – spread and cool
Remove from the hot candy coated almonds from the heat. Add the vanilla and salt, then spread the almonds onto your prepared baking sheet. This is why it’s important to have your baking sheet prepared ahead of time with parchment or a silicone mat; because the sugar hardens quickly as it cools.

Separate sugared almonds gently with a fork. They crisp as they cool — usually within fifteen minutes.
Notes and Final Thoughts
- Stir consistently near the end so nothing burns.
- A teaspoon of vegan butter in the last minute gives extra sheen.
- Cool fully before storing or they may stick together.
- A sealed jar keeps them crisp for two weeks, though they rarely last.
- Roasted almonds can be used, just shorten cook time and watch closely.
- This recipe should yield about six one-third cup servings. Perfect for setting out and enjoying alongs with some other tasty holiday treats.
Literally nothing about this recipe is complicated, yet it feels special like the kind of thing you make once and then start gifting, snacking, and adding to salads without thinking. Make a batch, let them cool, and see how long they last. My guess? Not long.
The printable recipe card
Did you love this recipe?
Want to share the love? It would be great if you could leave five ⭐️ ⭐️ ⭐️ ⭐️ ⭐️ stars and even a comment. Did you know that this will help Google to find this recipe when others are looking for something similar? Thanks, Cindy

Sugar Coated Almonds
Ingredients
- 1 cup granulated sugar
- ½ cup water
- ½ teaspoon ground cinnamon
- 2 cups raw whole almonds
- 1 teaspoon vanilla extract
- Pinch of salt
Instructions
- Prep the pan Line a baking sheet with parchment paper or a silicone mat. Keep a wooden spoon nearby for stirring later.
- Dissolve the sugar In a heavy skillet or saucepan, combine the sugar, water, and cinnamon. Heat over medium, stirring occasionally, until the sugar has dissolved.1 cup granulated sugar, ½ cup water, ½ teaspoon ground cinnamon
- Add the almonds Stir in the almonds and continue cooking over medium heat. The syrup will look glossy and thin at first.2 cups raw whole almonds
- Continue and Watch for crystallization After about eight to ten minutes, the syrup will begin to crystallize and coat the almonds with a dry, sandy texture. Continue stirring to keep the coating even.
- Melt and caramelize Keep cooking and stirring for five to seven minutes more. The sugar will melt again and turn golden, forming a shiny coating on the almonds. Remove from heat when the almonds are evenly glazed.
- Finish and cool Stir in the vanilla and salt. Spread the almonds onto the prepared baking sheet and separate them with a fork while warm. Cool ten to fifteen minutes, then break apart any clusters.1 teaspoon vanilla extract, Pinch of salt
- Let cool completely before storing.
Notes
- Stir constantly once the sugar starts to thicken. Caramel can burn quickly.
- For a shinier finish, add a teaspoon of vegan butter in the last minute of cooking.
- Cool completely before storing — warm almonds will turn sticky in a container.
- Store in an airtight jar at room temperature for up to two weeks.
- Use raw whole almonds if you can. They toast gently in the sugar syrup and turn crisp inside. If you are using roasted almonds, just make sure to use unsalted roasted almonds. Roasted almonds will work, but they can over-brown before the sugar fully caramelizes and may taste slightly more bitter.
Interesting recipe. Took my stove a big longer altogether, but still turned out great. The almonds did start to “pop” towards the end which startled me at first, since it took longer, but they were delicious.
I’m so glad you liked this one and good to know about the longer cooking. Thanks